

 Talos
Talos Omni
Omni Kubernetes Guides
Video Walkthrough
To see a live demo of this writeup, visit Youtube here:Installation
How to Get Proxmox
It is assumed that you have already installed Proxmox onto the server you wish to create Talos VMs on. Visit the Proxmox downloads page if necessary.Install talosctl
You can downloadtalosctl on MacOS and Linux via:
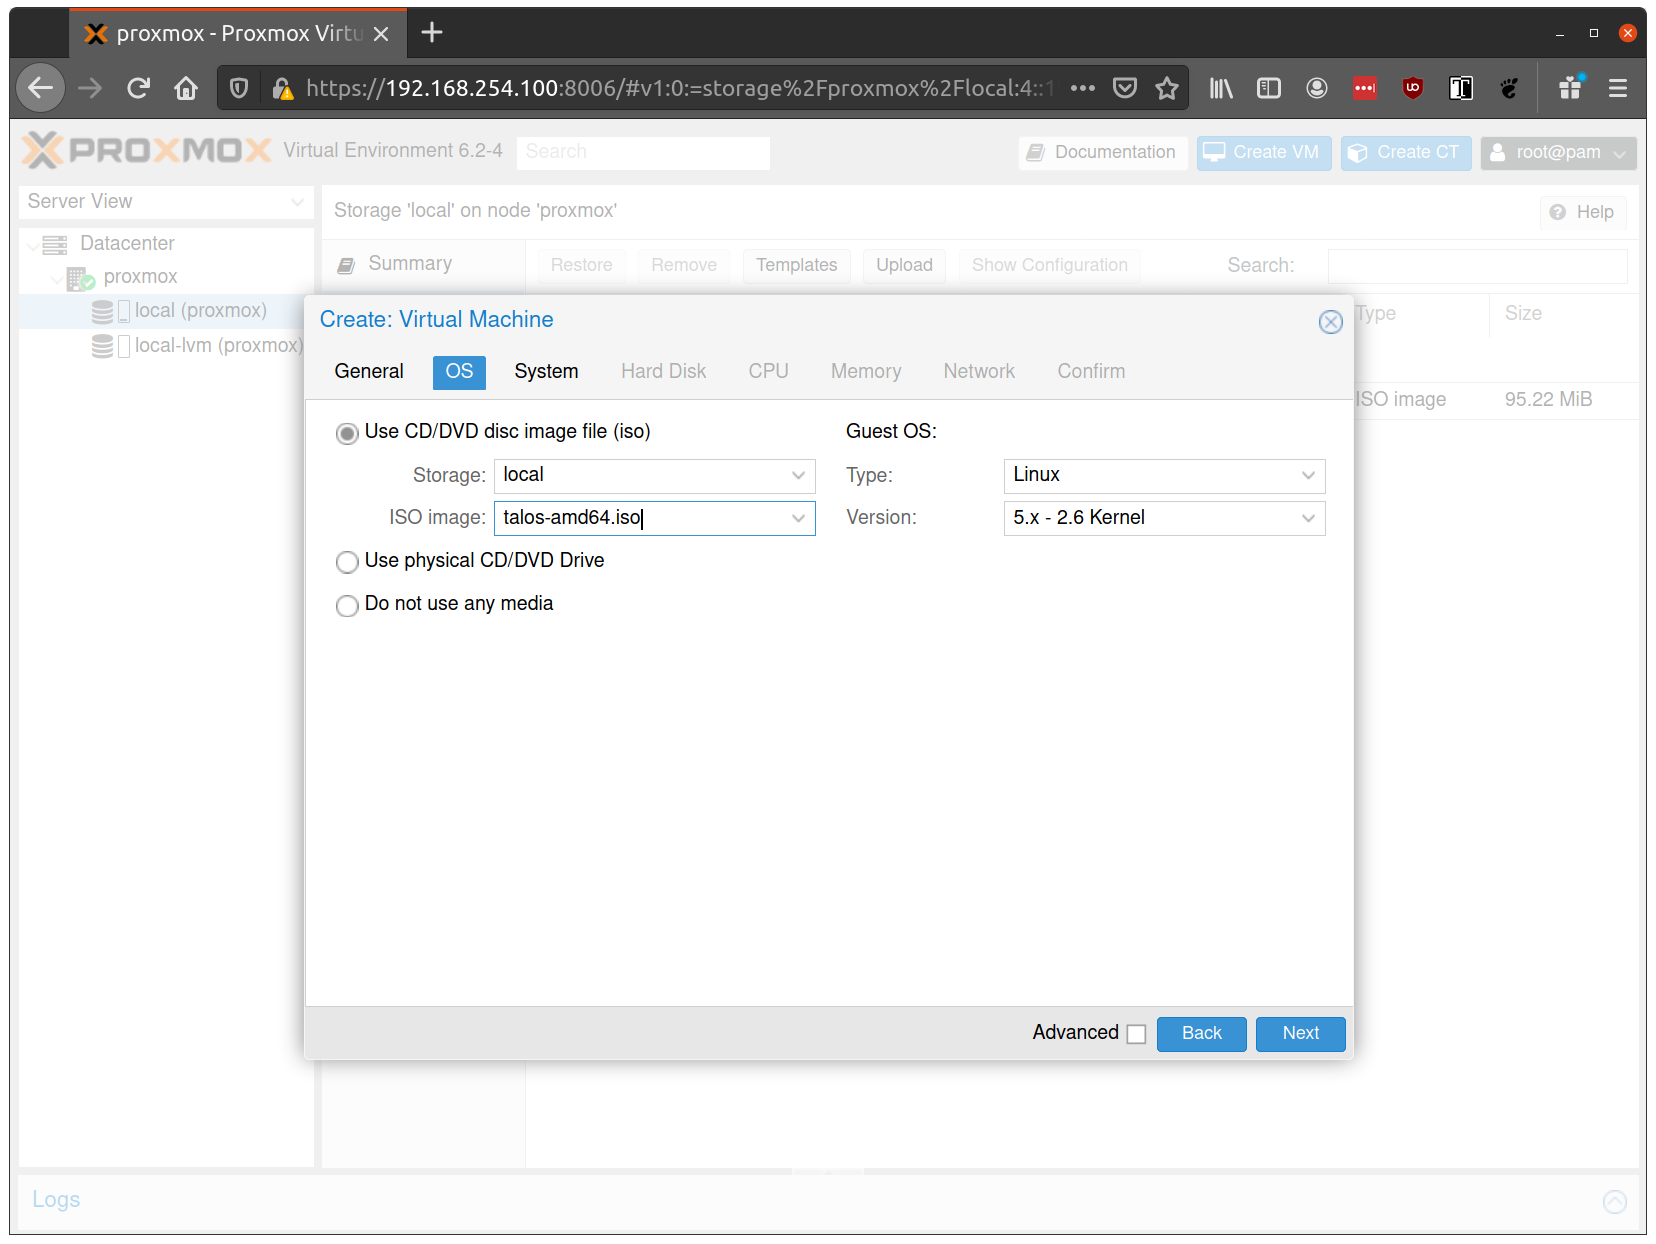
Download ISO Image
In order to install Talos in Proxmox, you will need the ISO image from Image Factory.linux platform:
QEMU guest agent support (iso)
- If you need the QEMU guest agent so you can do guest VM shutdowns of your Talos VMs, then you will need a custom ISO
- To get this, navigate to https://factory.talos.dev/
- Scroll down and select your Talos version ( for example)
- Then tick the box for
siderolabs/qemu-guest-agentand submit - This will provide you with a link to the bare metal ISO
- The lines we’re interested in are as follows
- Download the above ISO (this will most likely be
amd64for you) - Take note of the
factory.talos.dev/installerURL as you’ll need it later
Upload ISO
From the Proxmox UI, select the “local” storage and enter the “Content” section. Click the “Upload” button:
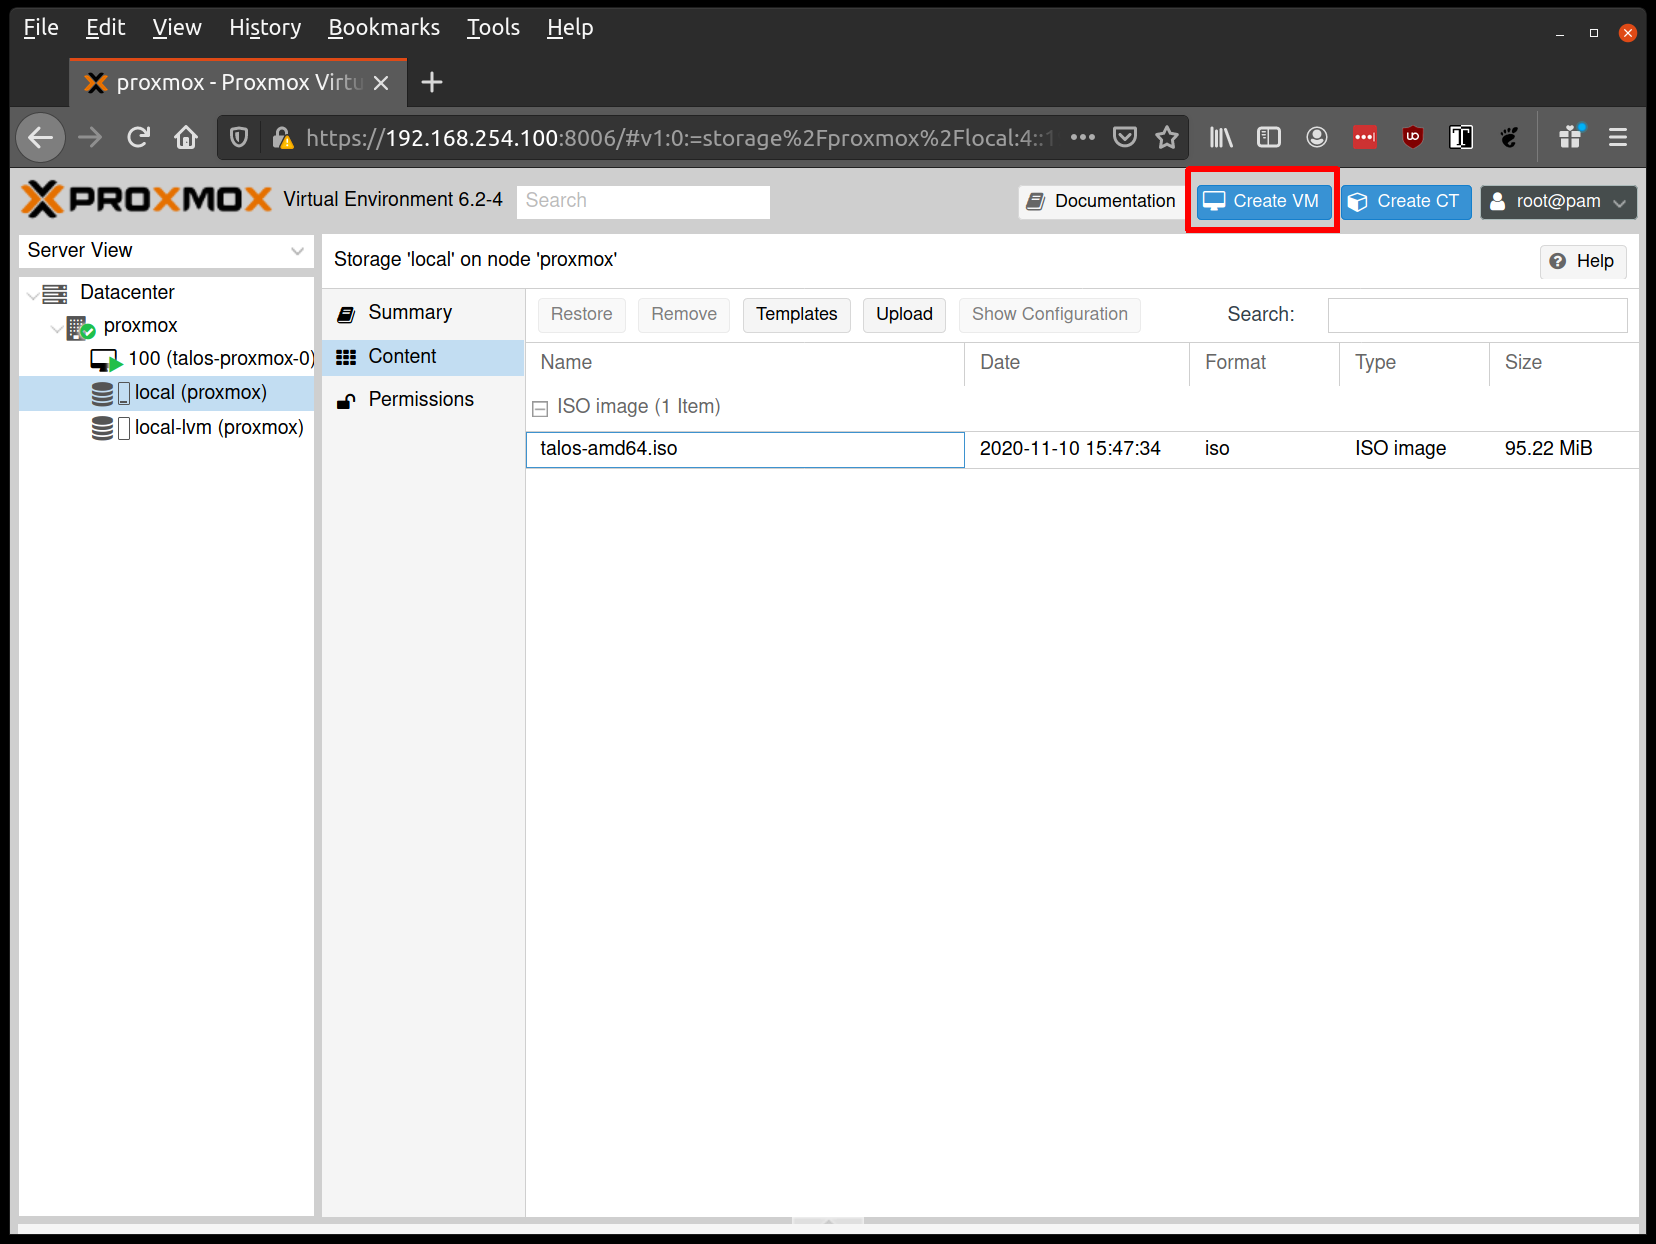
Create VMs
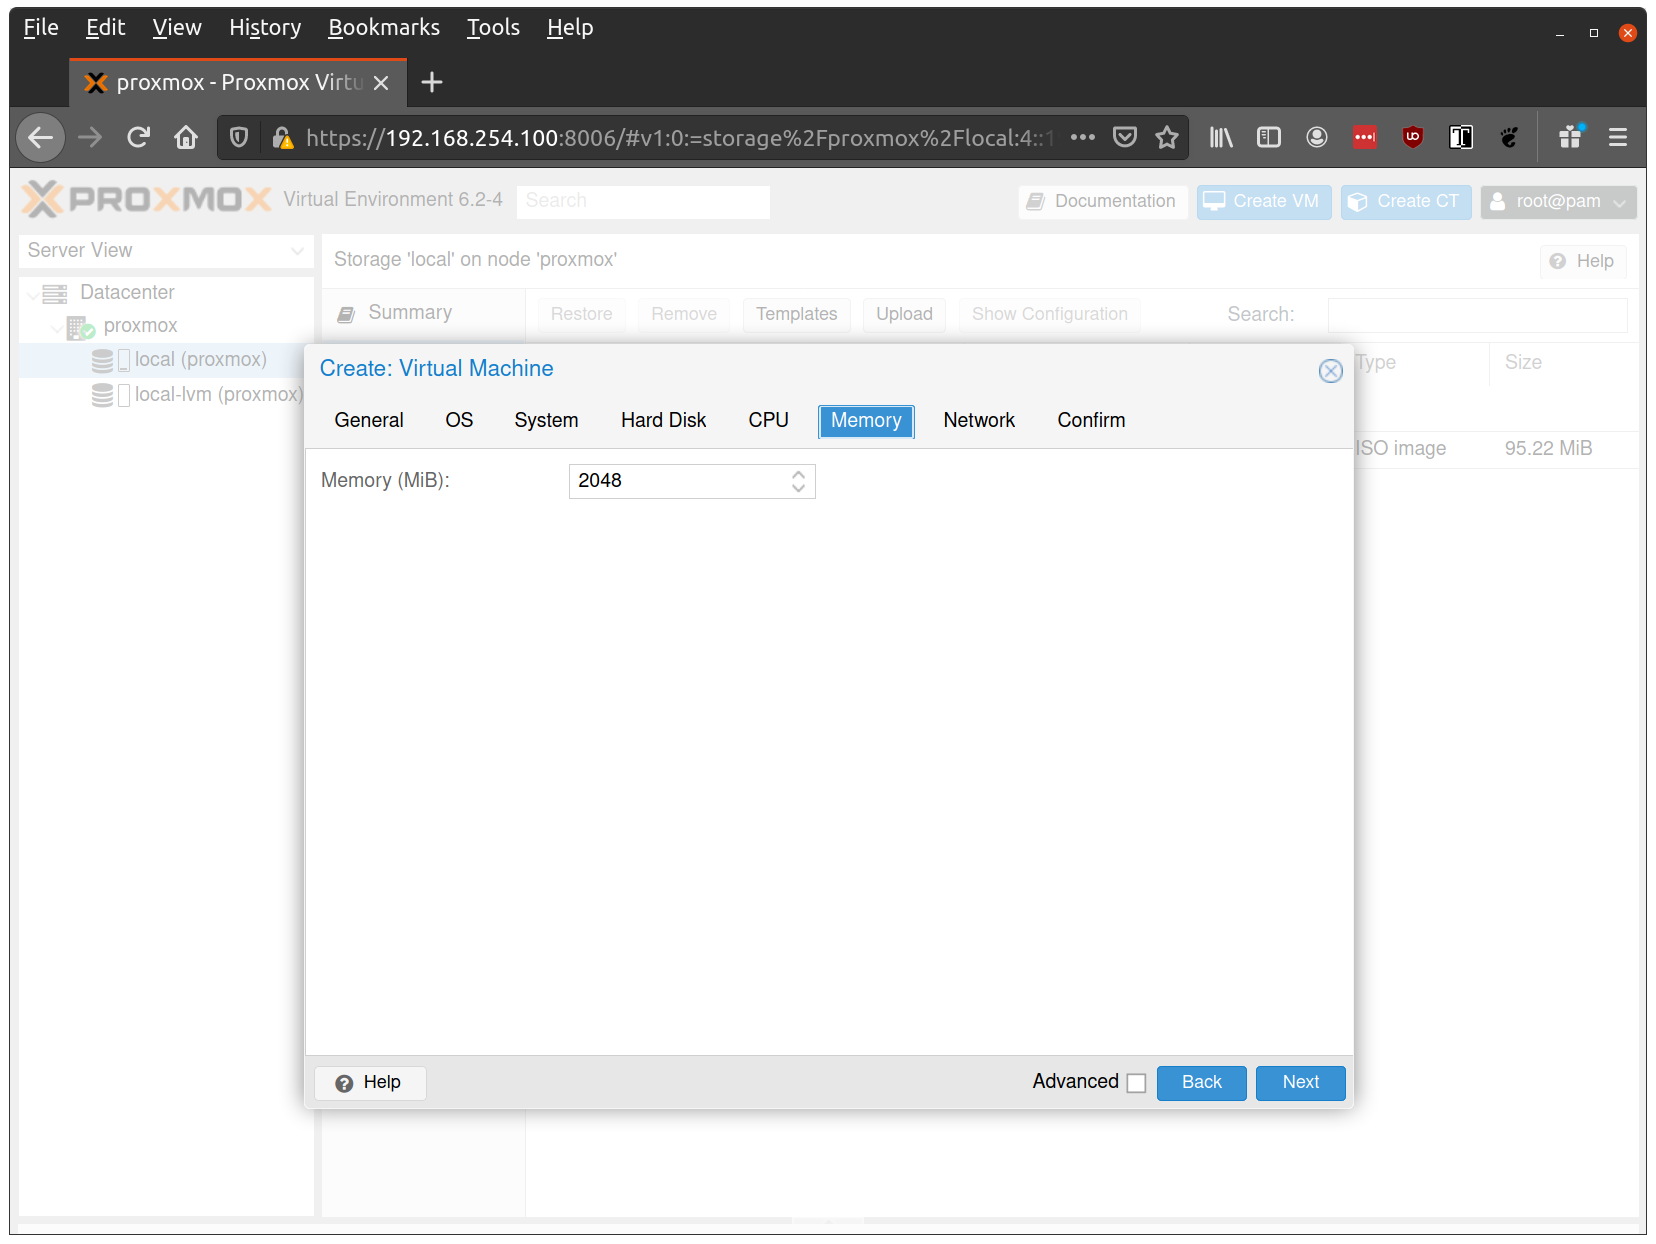
Before starting, familiarise yourself with the system requirements for Talos and assign VM resources accordingly.Recommended baseline VM configuration
Use the following baseline settings for Proxmox VMs running Talos:| Setting | Recommended Value | Notes |
|---|---|---|
| BIOS | ovmf (UEFI) | Modern firmware, Secure Boot support, better hardware compatibility |
| Machine | q35 | Modern PCIe-based machine type with better device support |
| CPU Type | host | Enables advanced instruction sets (AVX-512, etc.), best performance. Alternative: kvm64 with feature flags for Proxmox < 8.0 |
| CPU Cores | 2+ (control plane), 4+ (workers) | Minimum 2 cores required |
| Memory | 4GB+ (control plane), 8GB+ (workers) | Minimum 2GB required |
| Disk Controller | VirtIO SCSI (NOT “VirtIO SCSI Single”) | Single controller can cause bootstrap hangs (#11173) |
| Disk Format | Raw (performance) or QCOW2 (features/snapshots) | Raw preferred for performance |
| Disk Cache | Write Through (safe default) | Or None for clustered environments |
| Network Model | virtio | Paravirtualized driver, best performance (up to 10 Gbit) |
| EFI Disk | 4MB (for OVMF) | Required for UEFI firmware, stores Secure Boot keys |
| Ballooning | Disabled | Talos doesn’t support memory hotplug |
| RNG Device | VirtIO RNG (optional) | Better entropy for security |
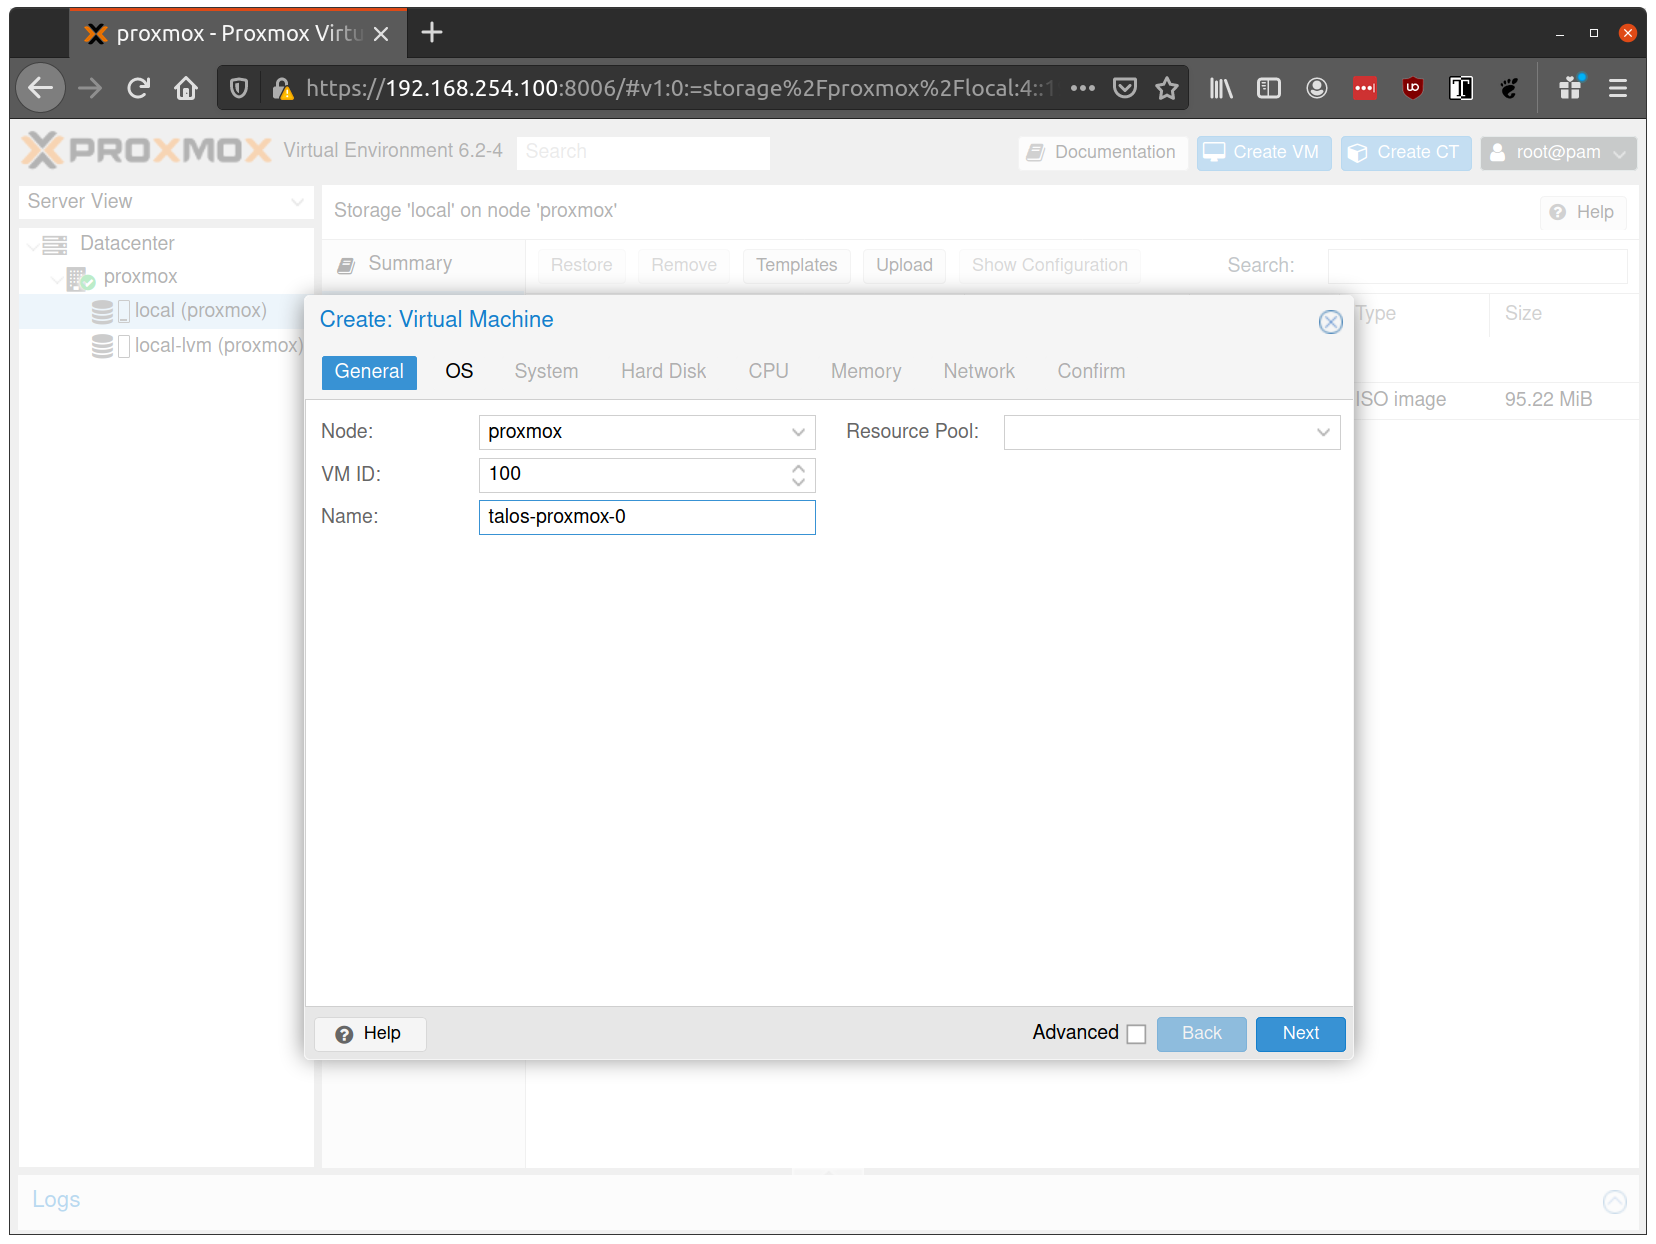
Important: When configuring the disk controller, use VirtIO SCSI (not “VirtIO SCSI Single”). Using “VirtIO SCSI Single” can cause bootstrap to hang or prevent disk discovery. See issue #11173 for details.Create a new VM by clicking the “Create VM” button in the Proxmox UI:
- Set BIOS to
ovmf(UEFI) for modern firmware and Secure Boot support - Set Machine to
q35for modern PCIe-based machine type - Add EFI Disk (4MB) for persistent UEFI settings and Secure Boot key storage
- Set Bus/Device to
VirtIO SCSI(NOT “VirtIO SCSI Single”) - Set Storage to your main storage pool
- Set Format to
Raw(better performance) orQCOW2(features/snapshots) - Set Size based on your workload requirements (adjust based on CSI and application needs)
- Set Cache to
Write Through(safe default) orNonefor clustered environments - Enable Discard (TRIM support) if using SSD storage
- Enable SSD emulation if using SSD storage
Important: When configuring the disk controller, use VirtIO SCSI (not “VirtIO SCSI Single”). Using “VirtIO SCSI Single” can cause bootstrap to hang or prevent disk discovery. See issue #11173 for details.In the “CPU” section:
- Set Cores to 2+ for control planes, 4+ for workers
- Set Sockets to 1 (keep simple)
- Set Type to
host(best performance, enables advanced instruction sets)- Alternative for Proxmox < 8.0: Use
kvm64with feature flags by adding to/etc/pve/qemu-server/<vmid>.conf: - Note:
hostCPU type prevents live VM migration but provides best performance
- Alternative for Proxmox < 8.0: Use
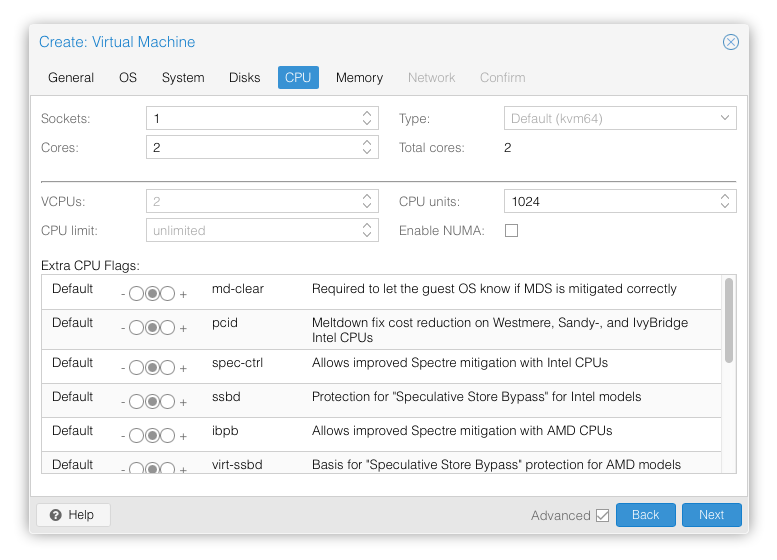
- Set Memory to 4GB+ for control planes, 8GB+ for workers (minimum 2GB required)
- Disable Ballooning (can cause issues with Talos memory detection)
- Set Model to
virtio(paravirtualized driver, best performance) - Set Bridge to your network bridge (e.g.,
vmbr0) - Verify the VM is set to come up on the bridge interface
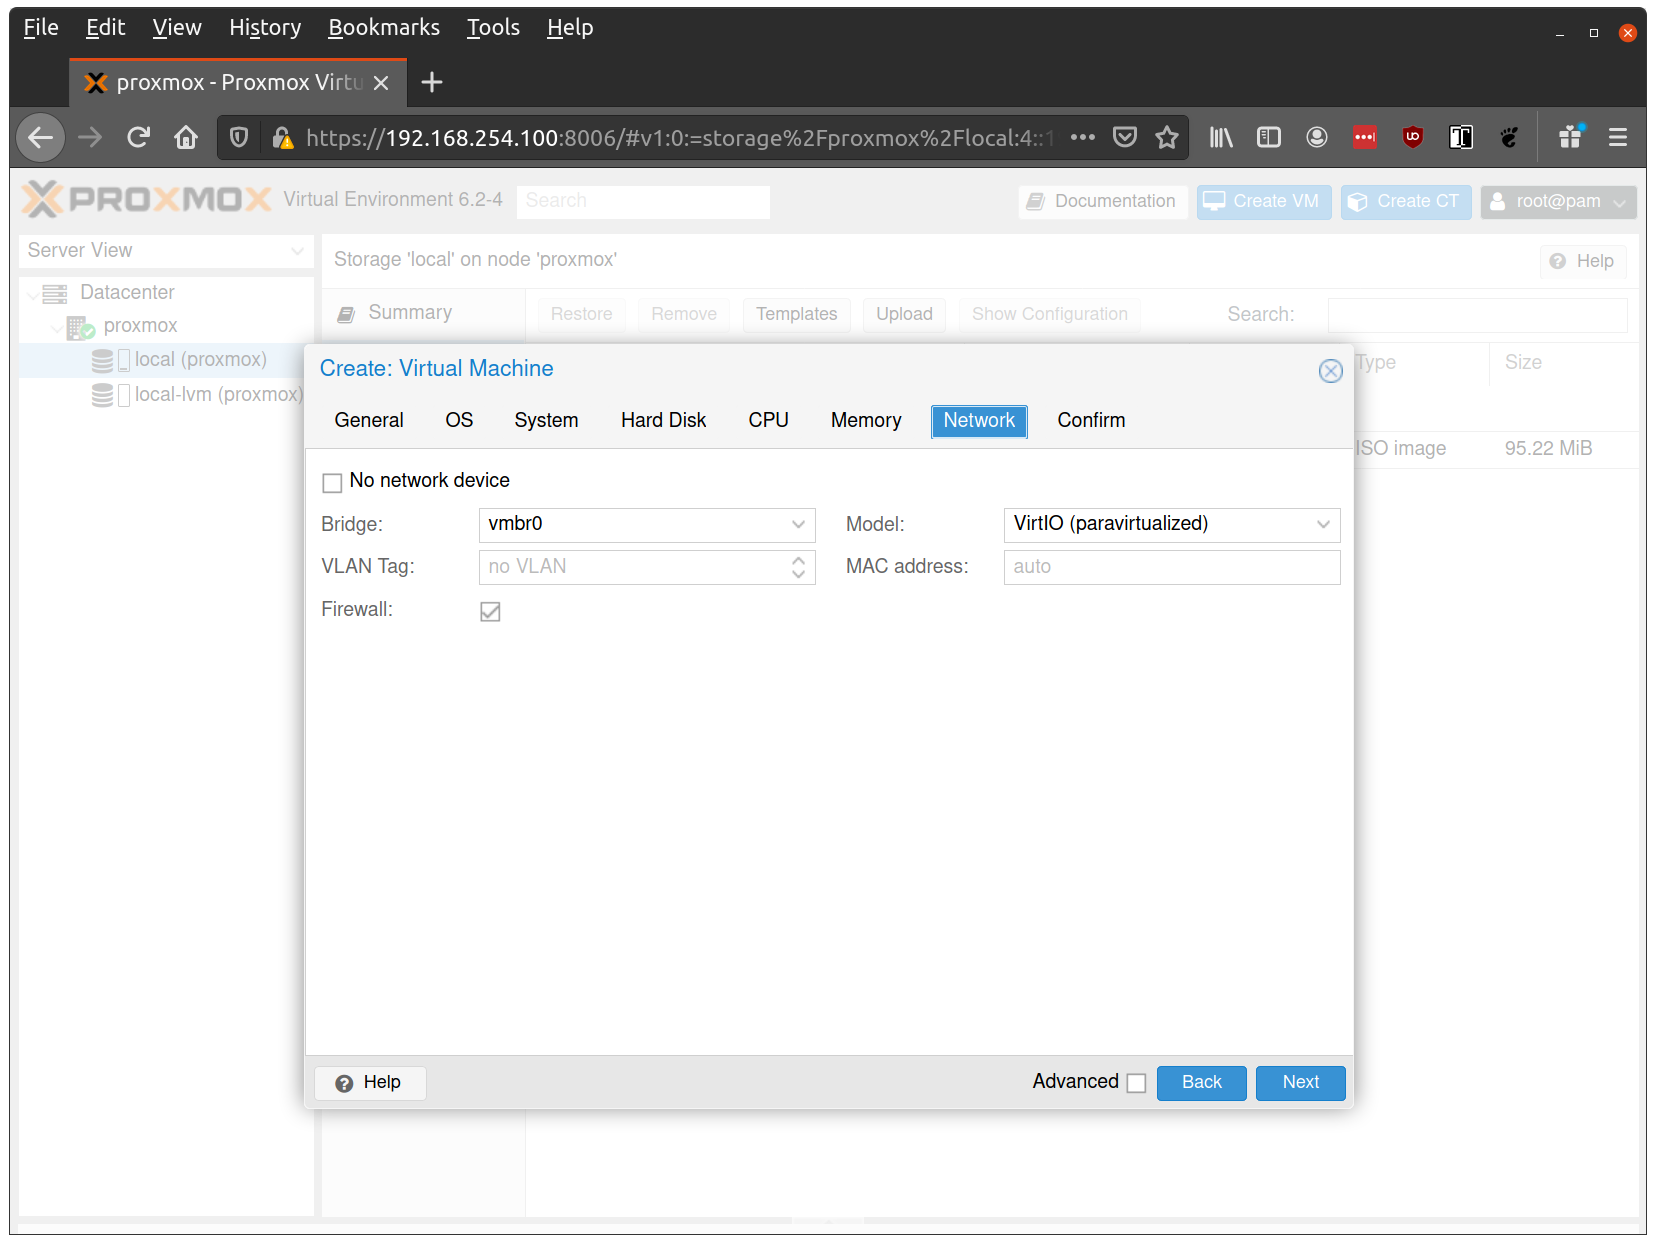
Tip: Enable a serial console (ttyS0) in Proxmox VM settings to see early boot logs and troubleshoot network connectivity issues. This is especially helpful when debugging DHCP timing or bridge configuration problems. Set Serial port toFinish creating the VM by clicking through the “Confirm” tab and then “Finish”. Repeat this process for a second VM to use as a worker node. You can also repeat this for additional nodes desired.ttyS0in Proxmox and addconsole=ttyS0if you’re customizing kernel args.
Note: Talos doesn’t support memory hot plugging, if creating the VM programmatically don’t enable memory hotplug on your Talos VM’s. Doing so will cause Talos to be unable to see all available memory and have insufficient memory to complete installation of the cluster.
Start Control Plane Node
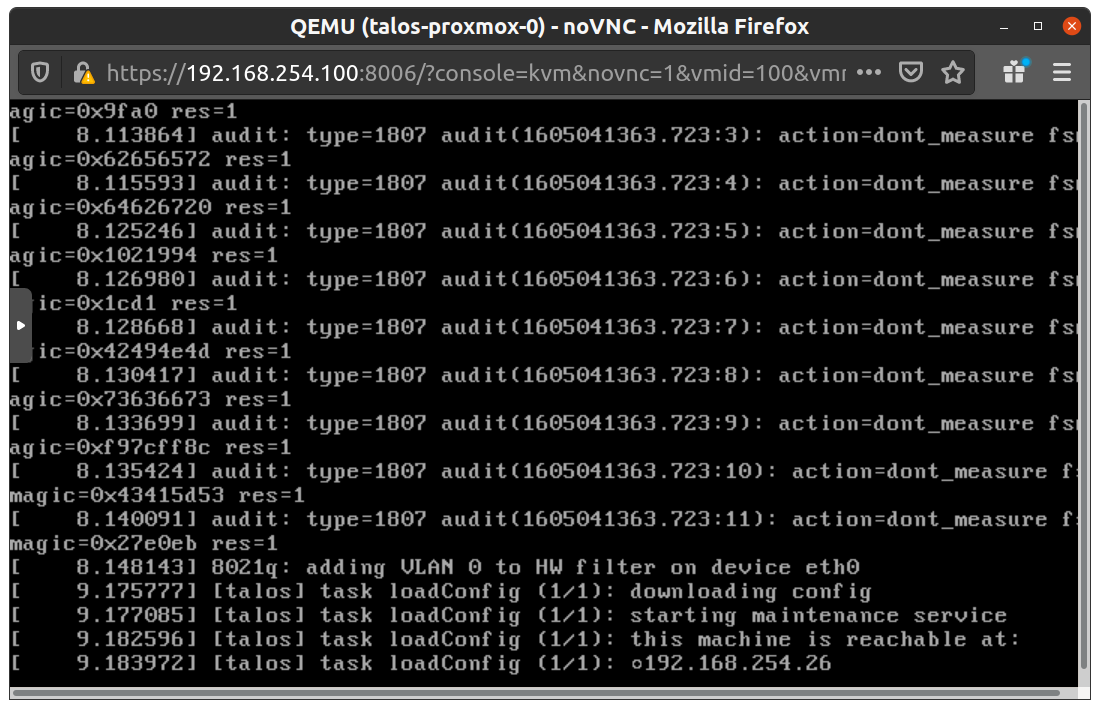
Once the VMs have been created and updated, start the VM that will be the first control plane node. This VM will boot the ISO image specified earlier and enter “maintenance mode”.With DHCP server
Once the machine has entered maintenance mode, there will be a console log that details the IP address that the node received. Take note of this IP address, which will be referred to as$CONTROL_PLANE_IP for the rest of this guide.
If you wish to export this IP as a bash variable, simply issue a command like export CONTROL_PLANE_IP=1.2.3.4.
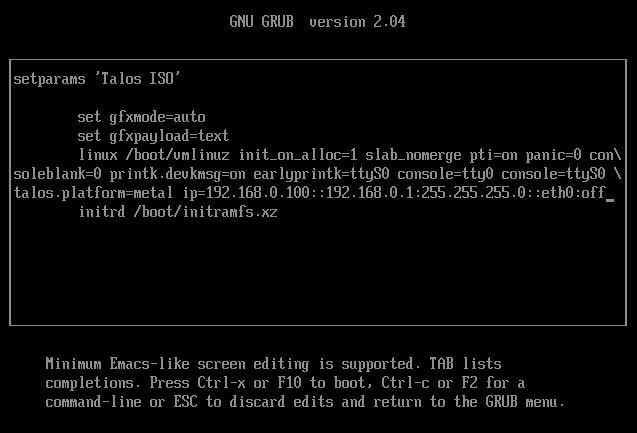
Without DHCP server
To apply the machine configurations in maintenance mode, VM has to have IP on the network. So you can set it on boot time manually.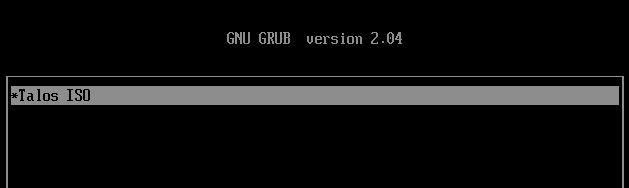
e on the boot time.
And set the IP parameters for the VM.
Format is:
Generate Machine Configurations
With the IP address above, you can now generate the machine configurations to use for installing Talos and Kubernetes. Issue the following command, updating the output directory, cluster name, and control plane IP as you see fit:_out directory: controlplane.yaml, worker.yaml, and talosconfig.
Note: The Talos config by default will install to/dev/sda. Depending on your setup the virtual disk may be mounted differently Eg:/dev/vda. You can check for disks running the following command:Updatecontrolplane.yamlandworker.yamlconfig files to point to the correct disk location.
QEMU guest agent support
For QEMU guest agent support, you can generate the config with the custom install image:
Important: Enable QEMU Guest Agent in Proxmox only if you built the ISO with the siderolabs/qemu-guest-agent extension in Image Factory.
If you’re using a standard Talos ISO without this extension, leave QEMU Guest Agent disabled in Proxmox VM settings.
Enabling it without the extension will only generate log spam and won’t provide any functionality.
See: Image Factory for building a custom ISO with extensions.
- If you did include the extension, go to your VM → Options and set QEMU Guest Agent to Enabled.
Create Control Plane Node
Using thecontrolplane.yaml generated above, you can now apply this config using talosctl.
Issue:
Booting until the bootstrap is completed in a later step.
Note: This process can be repeated multiple times to create an HA control plane.
Create Worker Node
Create at least a single worker node using a process similar to the control plane creation above. Start the worker node VM and wait for it to enter “maintenance mode”. Take note of the worker node’s IP address, which will be referred to as$WORKER_IP
Issue:
Note: This process can be repeated multiple times to add additional workers.
Using the Cluster
Once the cluster is available, you can make use oftalosctl and kubectl to interact with the cluster.
For example, to view current running containers, run talosctl containers for a list of containers in the system namespace, or talosctl containers -k for the k8s.io namespace.
To view the logs of a container, use talosctl logs <container> or talosctl logs -k <container>.
First, configure talosctl to talk to your control plane node by issuing the following, updating paths and IPs as necessary:
Bootstrap Etcd
Retrieve the kubeconfig
At this point we can retrieve the admin kubeconfig by running:
Troubleshooting
Cluster Creation Issues
Iftalosctl cluster create fails with disk controller errors:
- “virtio-scsi-single disk controller is not supported”: This disk controller type causes Talos bootstrap to hang. Use
virtioorscsiinstead:
Network Connectivity Issues
If nodes fail to obtain IP addresses or show “network is unreachable” errors:-
Verify bridge interface: Ensure the bridge interface (e.g.,
vmbr0) exists and is UP before starting VMs - Check DHCP server: Ensure DHCP server is running and reachable from the bridge network
- Firewall rules: If Proxmox VM firewall is enabled, allow DHCP traffic (UDP ports 67/68). If you enforce further filtering, ensure control-plane/API connectivity per your environment’s policy (see Talos networking docs).
- VLAN configuration: Ensure VLAN tags match between bridge configuration, VM network settings, and switch configuration
- Serial console: Enable serial console to view early boot logs and network initialization messages
Disk Controller Issues
- Configuration rejected: If you see “virtio-scsi-single disk controller is not supported”, use
--disks virtio:10GiBinstead of--disks virtio-scsi-single:10GiB - Bootstrap hangs: If bootstrap hangs or disks aren’t discovered, verify you’re using VirtIO SCSI (not “VirtIO SCSI Single”)
- Disk not found: Check disk path using
talosctl get disks --insecure --nodes $CONTROL_PLANE_IPand updateinstall.diskin machine config if needed (e.g.,install.disk: /dev/vda)