

 Talos
Talos Omni
Omni Kubernetes Guides
omnictl is the command-line tool for Omni. It lets you authenticate, manage, and interact with Talos-based Kubernetes clusters through Omni’s centralized API.
Follow the steps below to install and configure omnictl for your operating system.
Step 1: Install omnictl
You need to install omnictl to use Omni from your terminal.
There are two main installation options, depending on your setup:
- macOS and Linux (recommended)
- Manual installation
macOS and Linux (recommended)
On macOS and Linux, the easiest way to installomnictl is using Homebrew.
This command installs omnictl and keeps it up to date. It also installs talosctl and the kubectl oidc-login plugin.
Manual installation
If you prefer not to use Homebrew, you can installomnictl manually by downloading the binary from the Omni dashboard or from GitHub releases.
- Omni UI
- GitHub Releases
Navigate to your Omni dashboard and download the binary for your platform.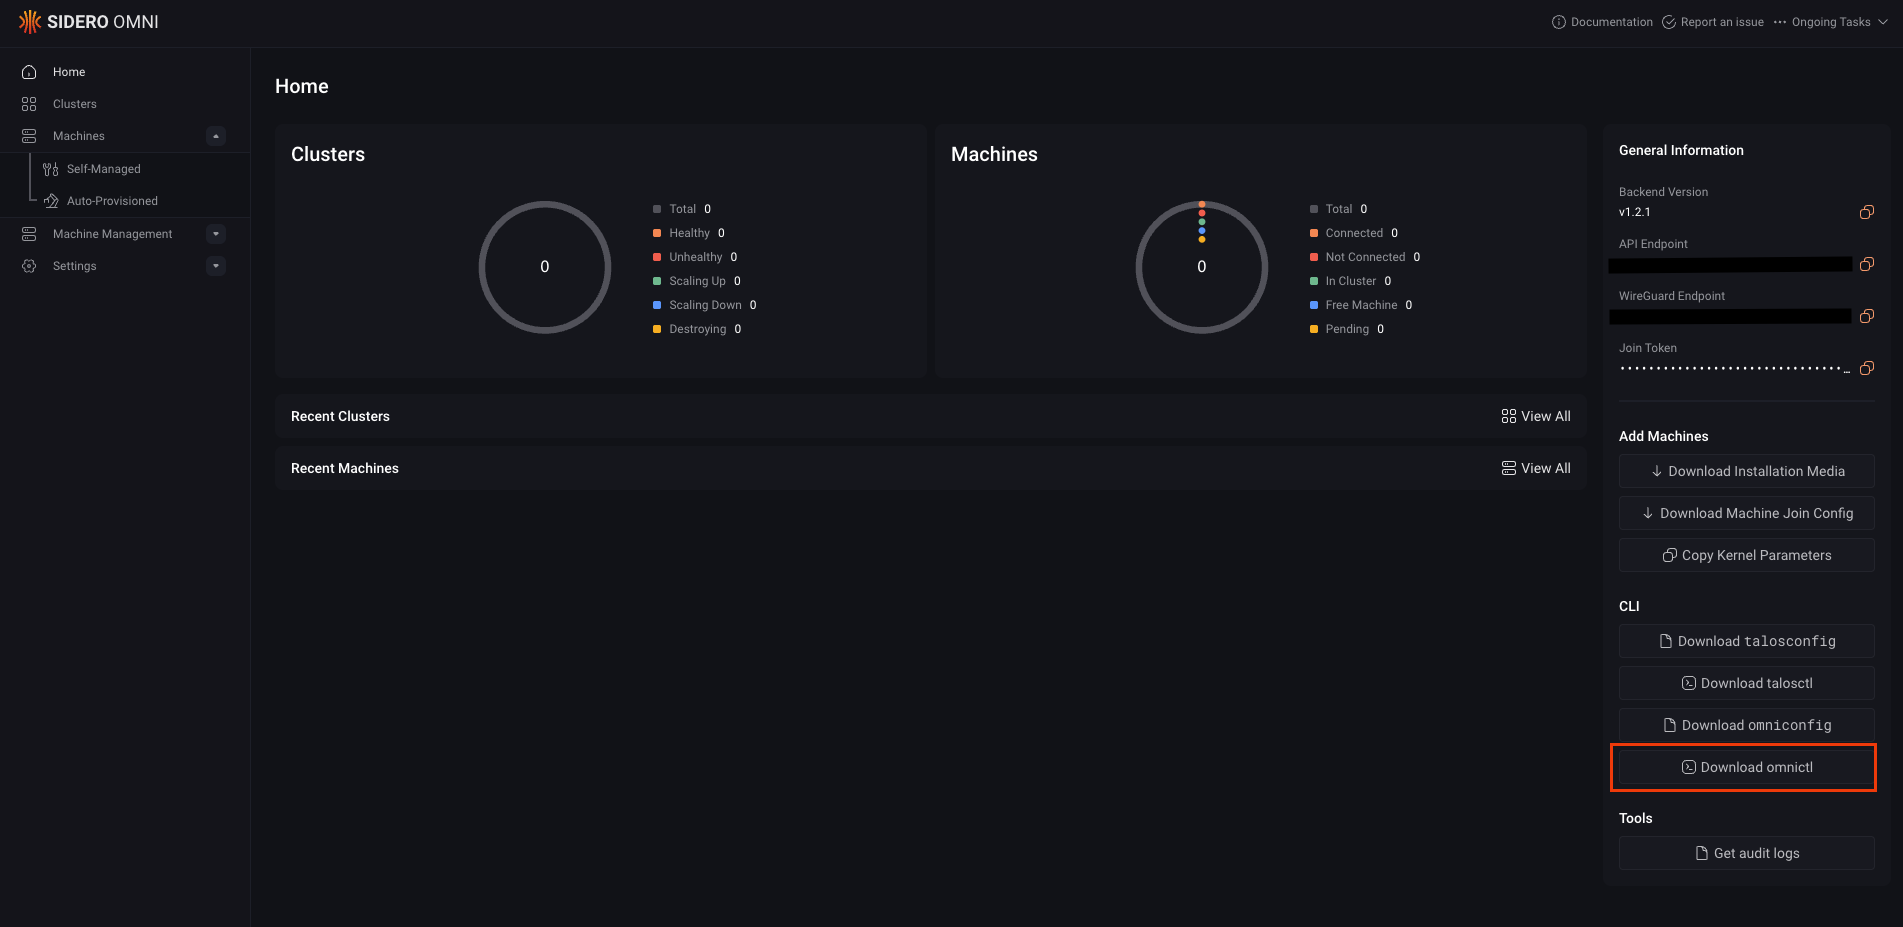
omnictl-linux-amd64 or omnictl-darwin-arm64.
After downloading the binary, rename it, make it executable, and move it into a directory on your system PATH.
- macOs and Linux
- Windows
On macOS and Linux, create a variable that points to the downloaded Then rename the binary, make it executable, and move it to
omnictl binary. Replace <path-to-downloaded-binary> with the actual path to the file:/usr/local/bin:omnictl from any terminal window.
Step 2: Configure omnictl
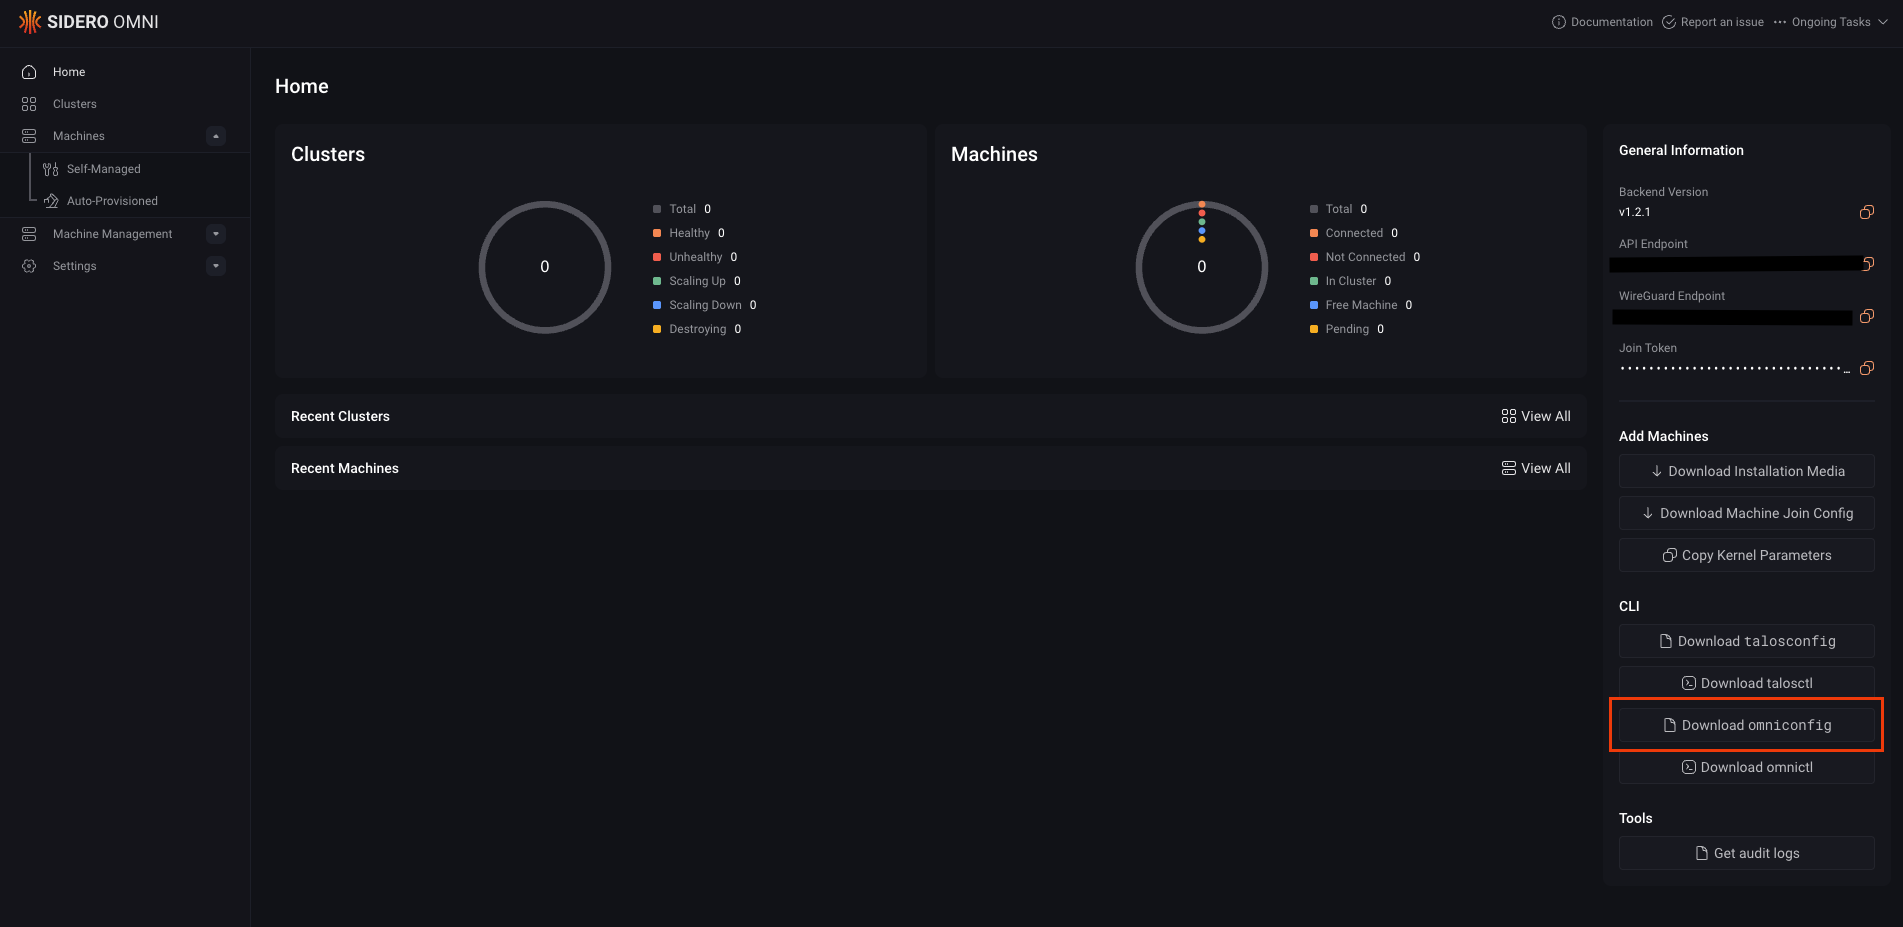
Next, configure omnictl by adding your omniconfig.yaml file to the default configuration directory.
First, download the omniconfig.yaml file from your Omni dashboard to your local machine.
omnictl stores its configuration under ~/.talos/omni/config.
Copy the downloaded file to that location:
- Command
- Output
Step 3: Authenticate and verify
The final step is authentication, which connects your local CLI to your Omni account. Run the following command:omnictl.