

 Talos
Talos Omni
Omni Kubernetes Guides
- Through the Omni UI
- Using the
omnictlCLI - Using Image Factory
Set machine labels using the Omni UI
To set machine labels using the Omni UI:- Log in to your Omni dashboard.
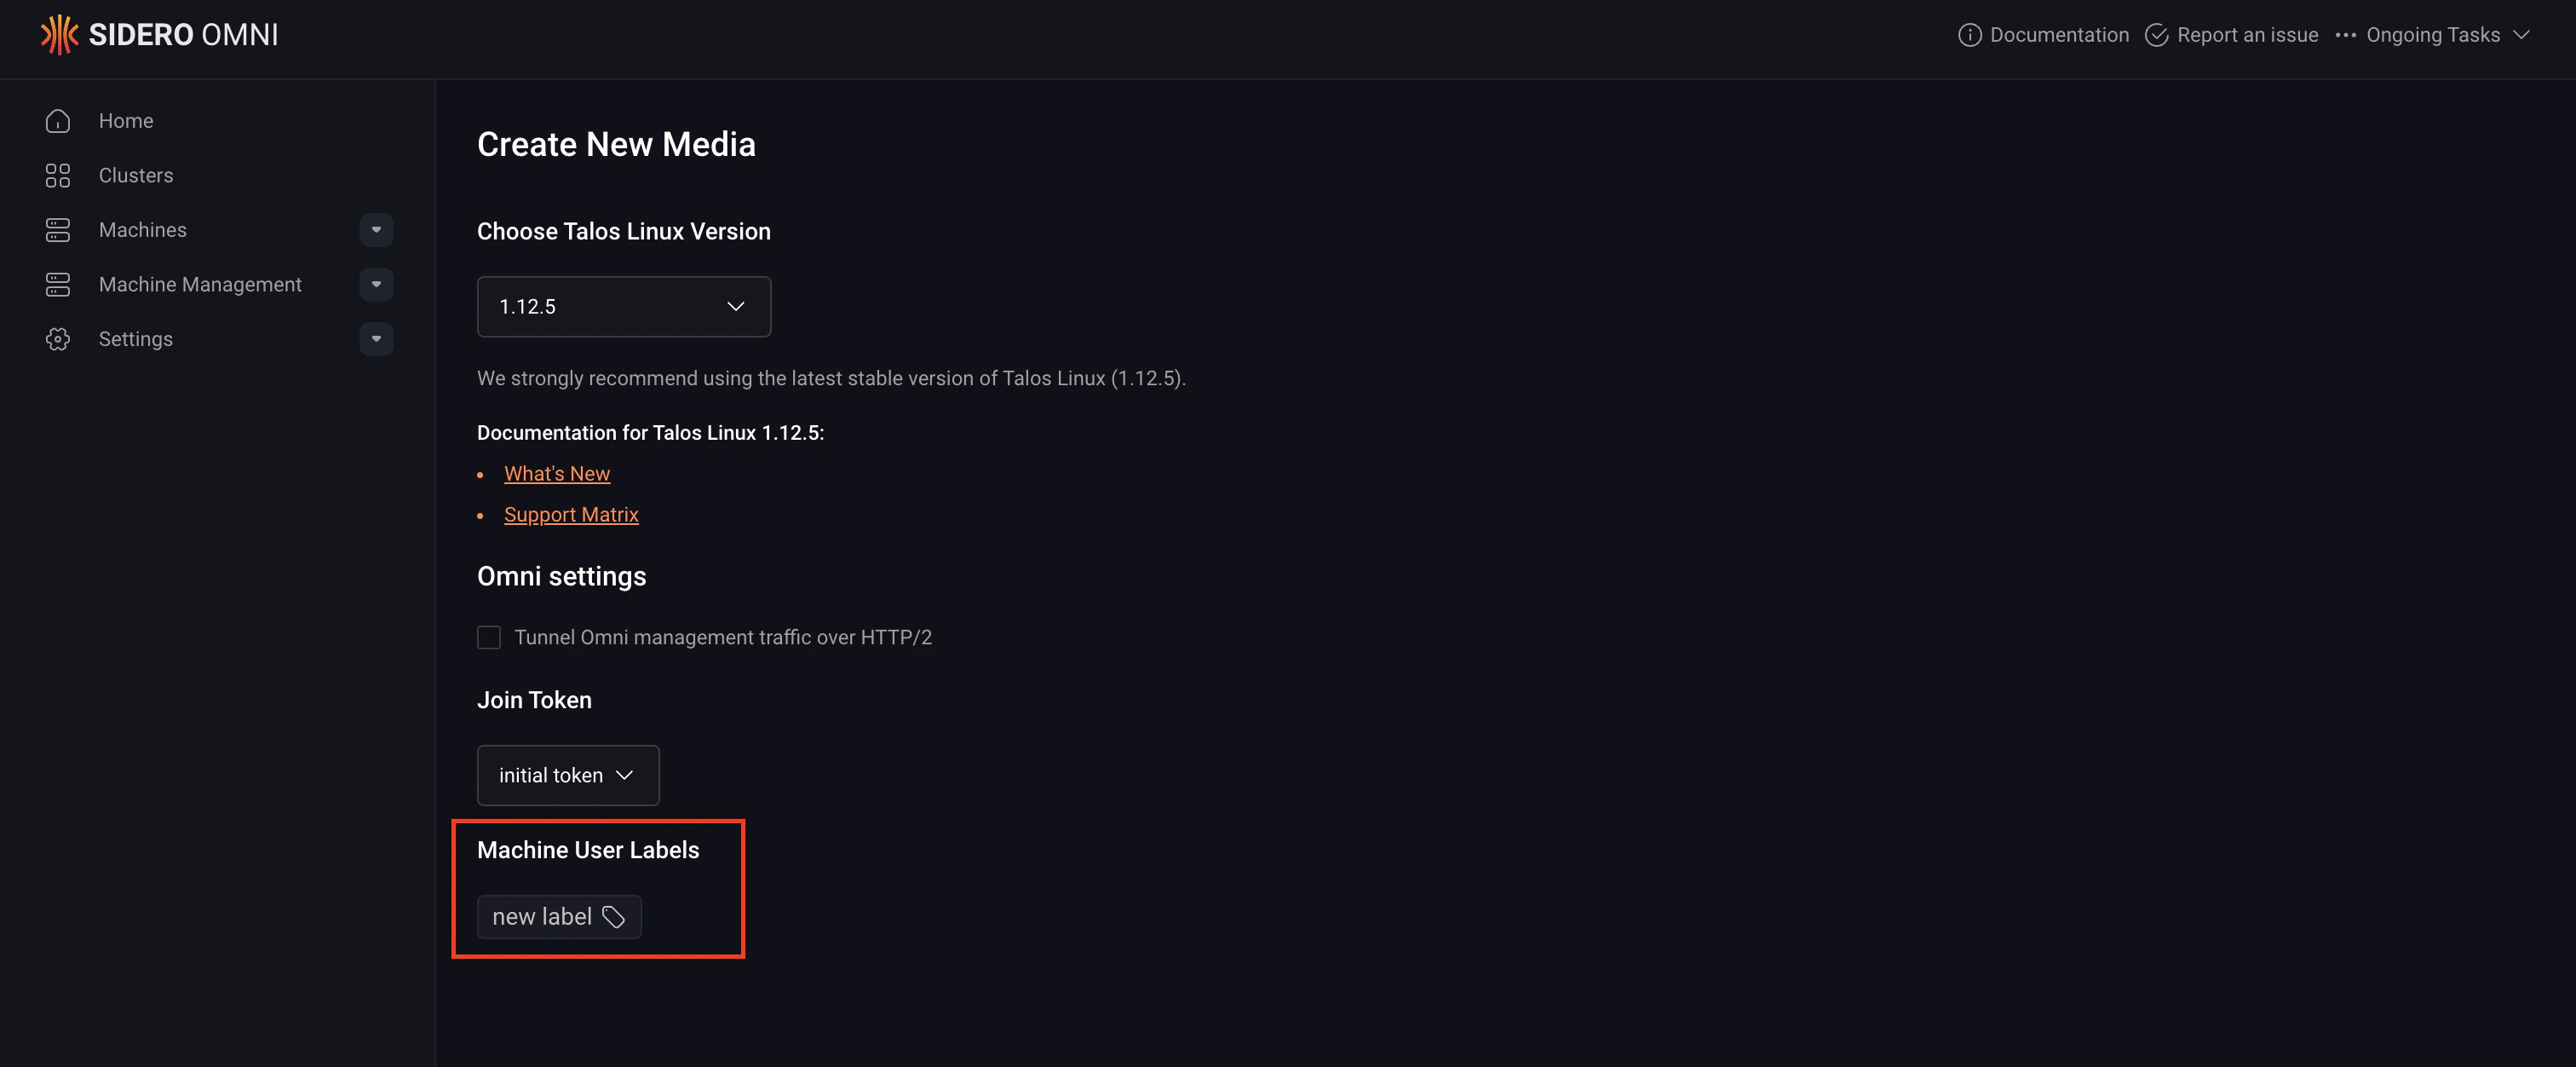
- Click the Download Installation Media button to open the Create New Media wizard.
- On each page of the Create New Media wizard, select the appropriate options for your setup, then click Next to continue. The Create New Media wizard is identical to the Image Factory and it is split across multiple pages. Each page presents a different set of configuration options, such as architecture, hardware type, and Talos Linux version, that you can use to customize your Talos Omni image.
- In the Machine User Labels section add the labels you want your machines to have and click Next to continue customizing your Talos Omni image.
- Select the appropriate boot option for your machine on the Schematic Ready page to download the Talos Omni image.
- Boot your machines using the downloaded image to have your machines labelled.
Set machine user labels using omnictl
When generating Talos installation media or a PXE boot URL with omnictl, you can define initial machine labels using the --initial-labels flag. This lets you assign key-value pairs to any machine that boots from that media.
Here is the syntax for adding machine user labels using omnictl:
environment=production and region=us-west):
meta section under key 12 — a Talos META key reserved by Omni for initial machine labels.
Initial labels work across most installation methods, including ISOs and PXE boot URLs.For example:This command outputs a PXE boot URL and exits.
Set machine user labels using Image Factory
Instead of usingomnictl, you can generate labeled boot media or PXE URLs by sending requests directly to the Image Factory API. This is useful when you need more control over schematic generation or want to integrate with your own tooling.
Step 1: Get your Omni kernel arguments
You need the kernel arguments for your Omni instance. Retrieve them using either one of these methods:- Click Copy Kernel Parameters on your Omni overview page
- Run
omnictl get connectionparams -oyamland read the values under.spec.args
Step 2: Submit a schematic to Image Factory
Split the kernel arguments by whitespace and include them in acurl POST request to the Image Factory:
This schematic ID will be identical to the one generated when using
omnictl with the same labels.Step 3: Download the installation media
Use the schematic ID to download your installation media: For additional options, see the Image Factory reference.Set machine user labels using platform metadata
Omni can automatically create machine user labels from the platform metadata tags that the underlying platform exposes to Talos Linux. For example, an EC2 instance’s tags are exposed by Talos as platform metadata tags, and Omni surfaces them as machine labels when the machine joins. This works for any platform that exposes tags through TalosPlatformMetadata, not just AWS EC2.
You can inspect the platform metadata tags Talos sees on a machine with:
- Rebooting the machine does not recreate the labels.
- Changing the platform tags after the machine has joined (for example, editing the instance tags in EC2) is not reflected as updated labels in Omni.
Verifying labels
After a machine registers with Omni, you can verify its labels using the Omni UI or omnictl. This applies both to user labels set at boot (from labeled media or a PXE URL) and to user labels derived from platform metadata. They appear alongside one another. To check labels with omnictl, run either of the following commands, replacing<machine-id> with your machine’s ID: